> ## Documentation Index
> Fetch the complete documentation index at: https://laudspeaker.com/docs/llms.txt
> Use this file to discover all available pages before exploring further.
# Audience and Profiles
> Keeping track of your customers and users
## Introduction
The Audience page, contains a view of all the users/customers you have interacted with - you could think of it as a mini CRM. We show the laudspeaker id, and an email (if it exists) for the users in the table.
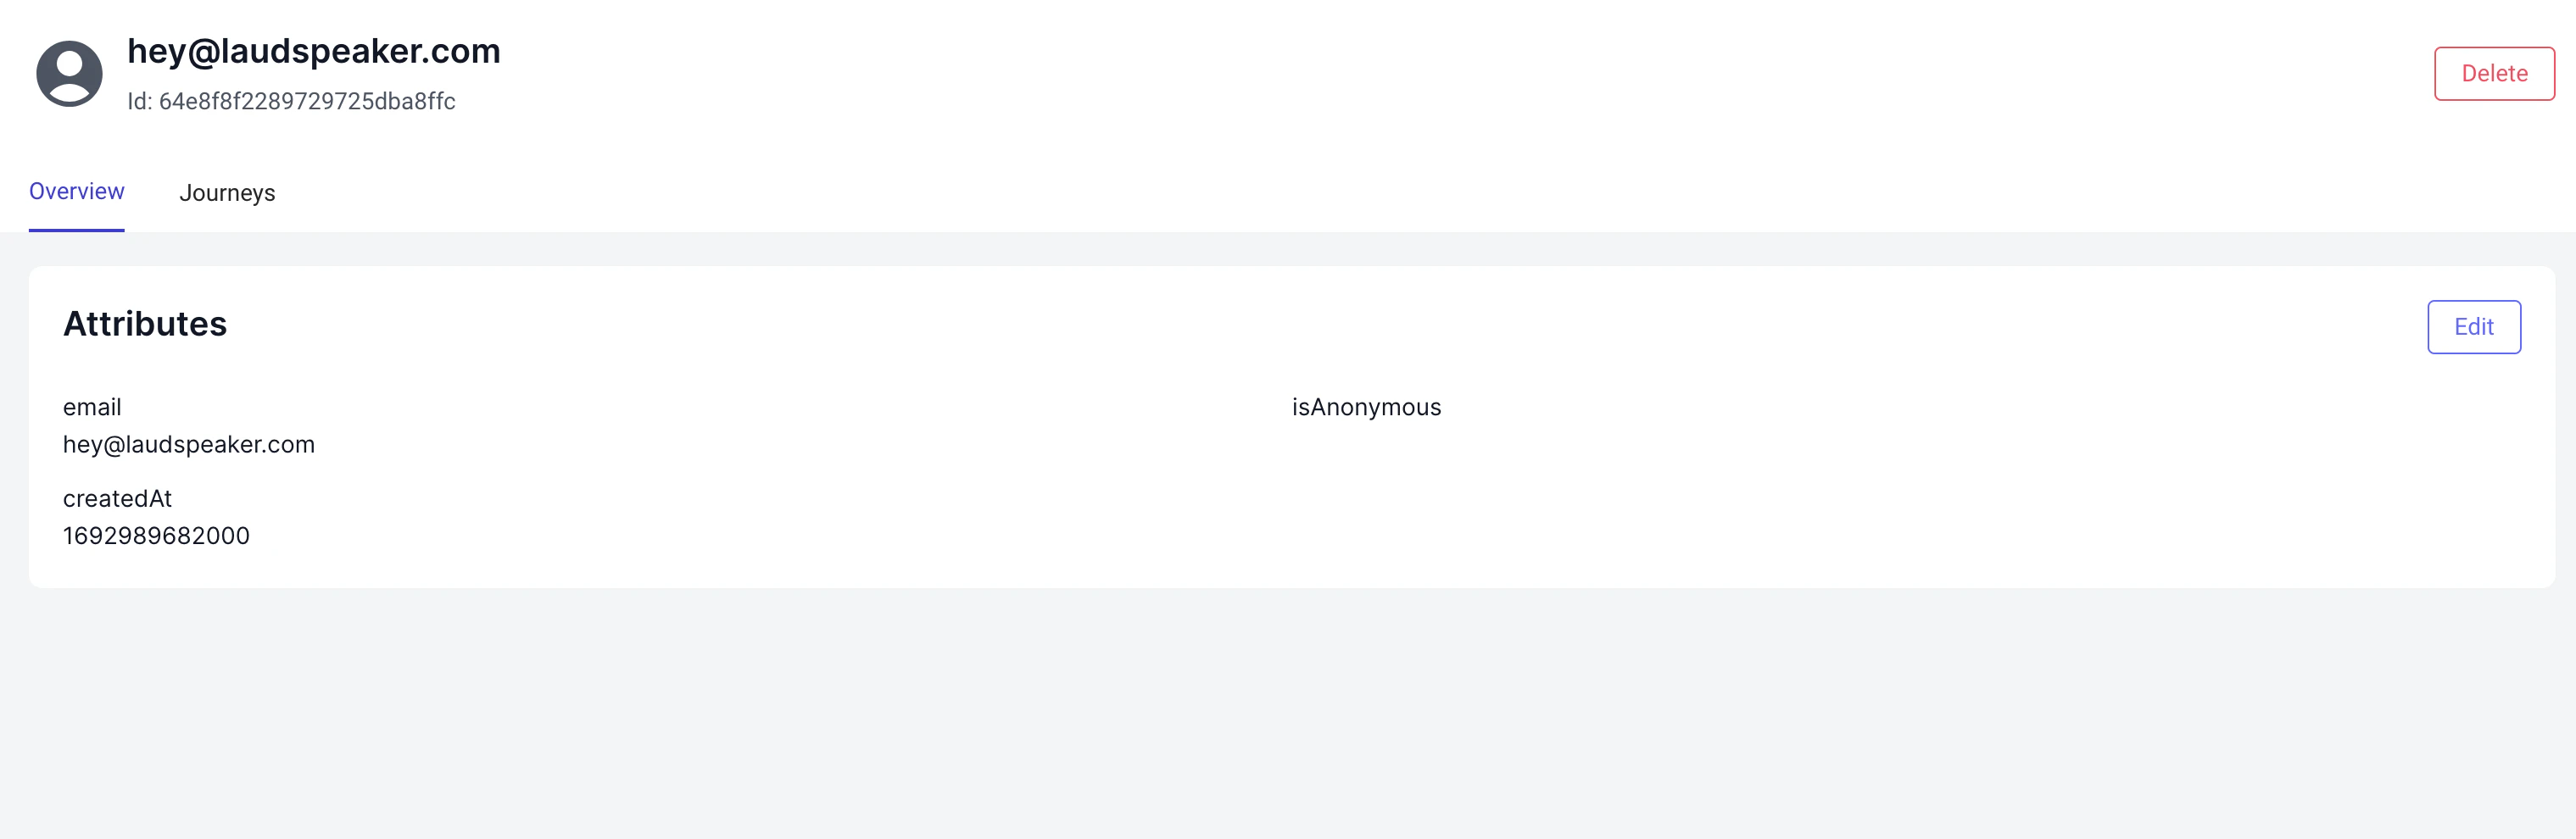
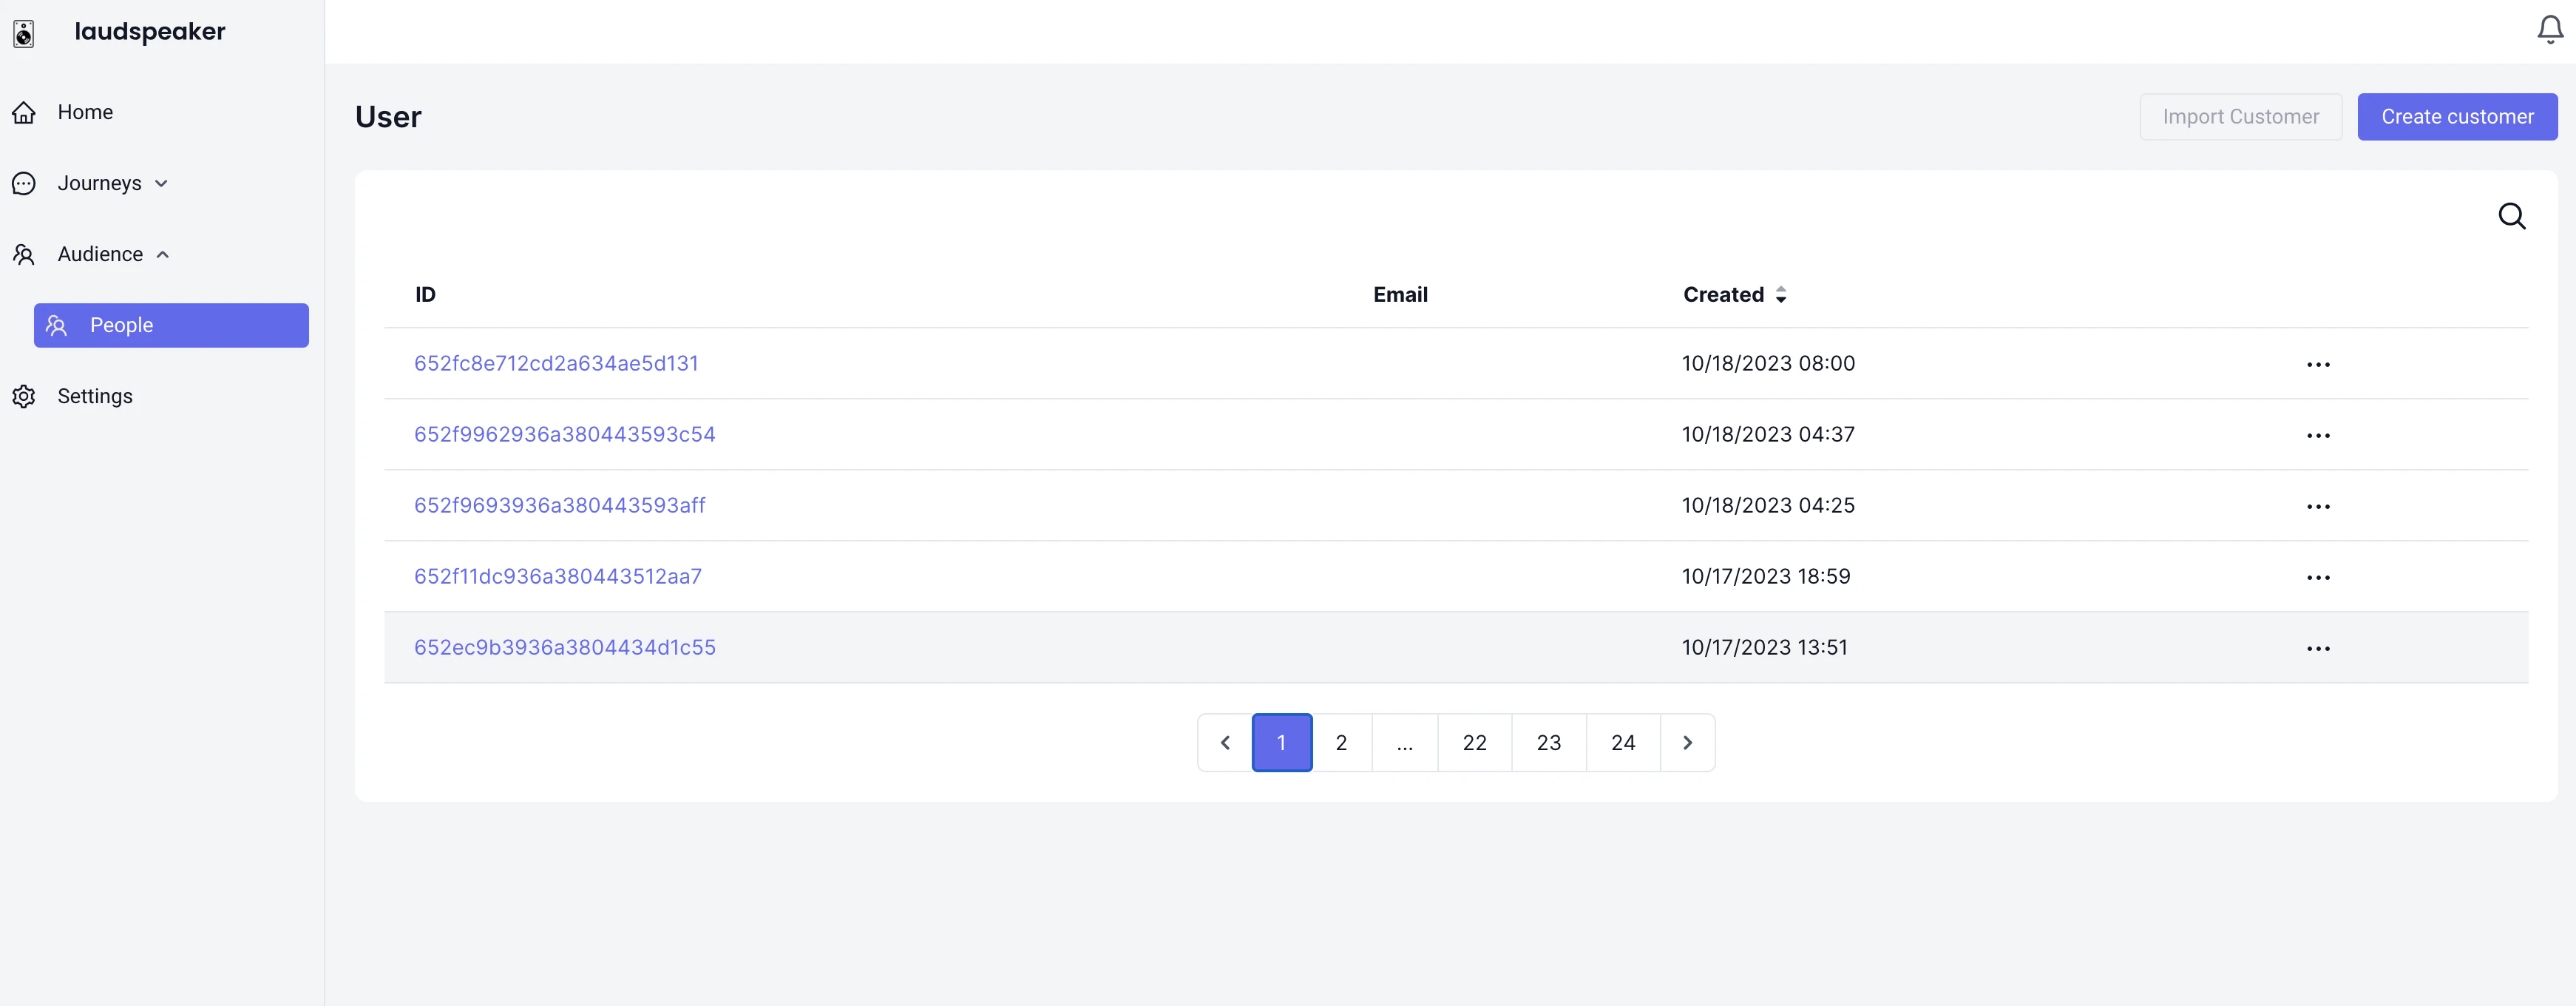 If you click on any of the people listed, you will see their Profile, which includes information about them including user attributes and a timeline of communications they have recieved through Laudspeaker.
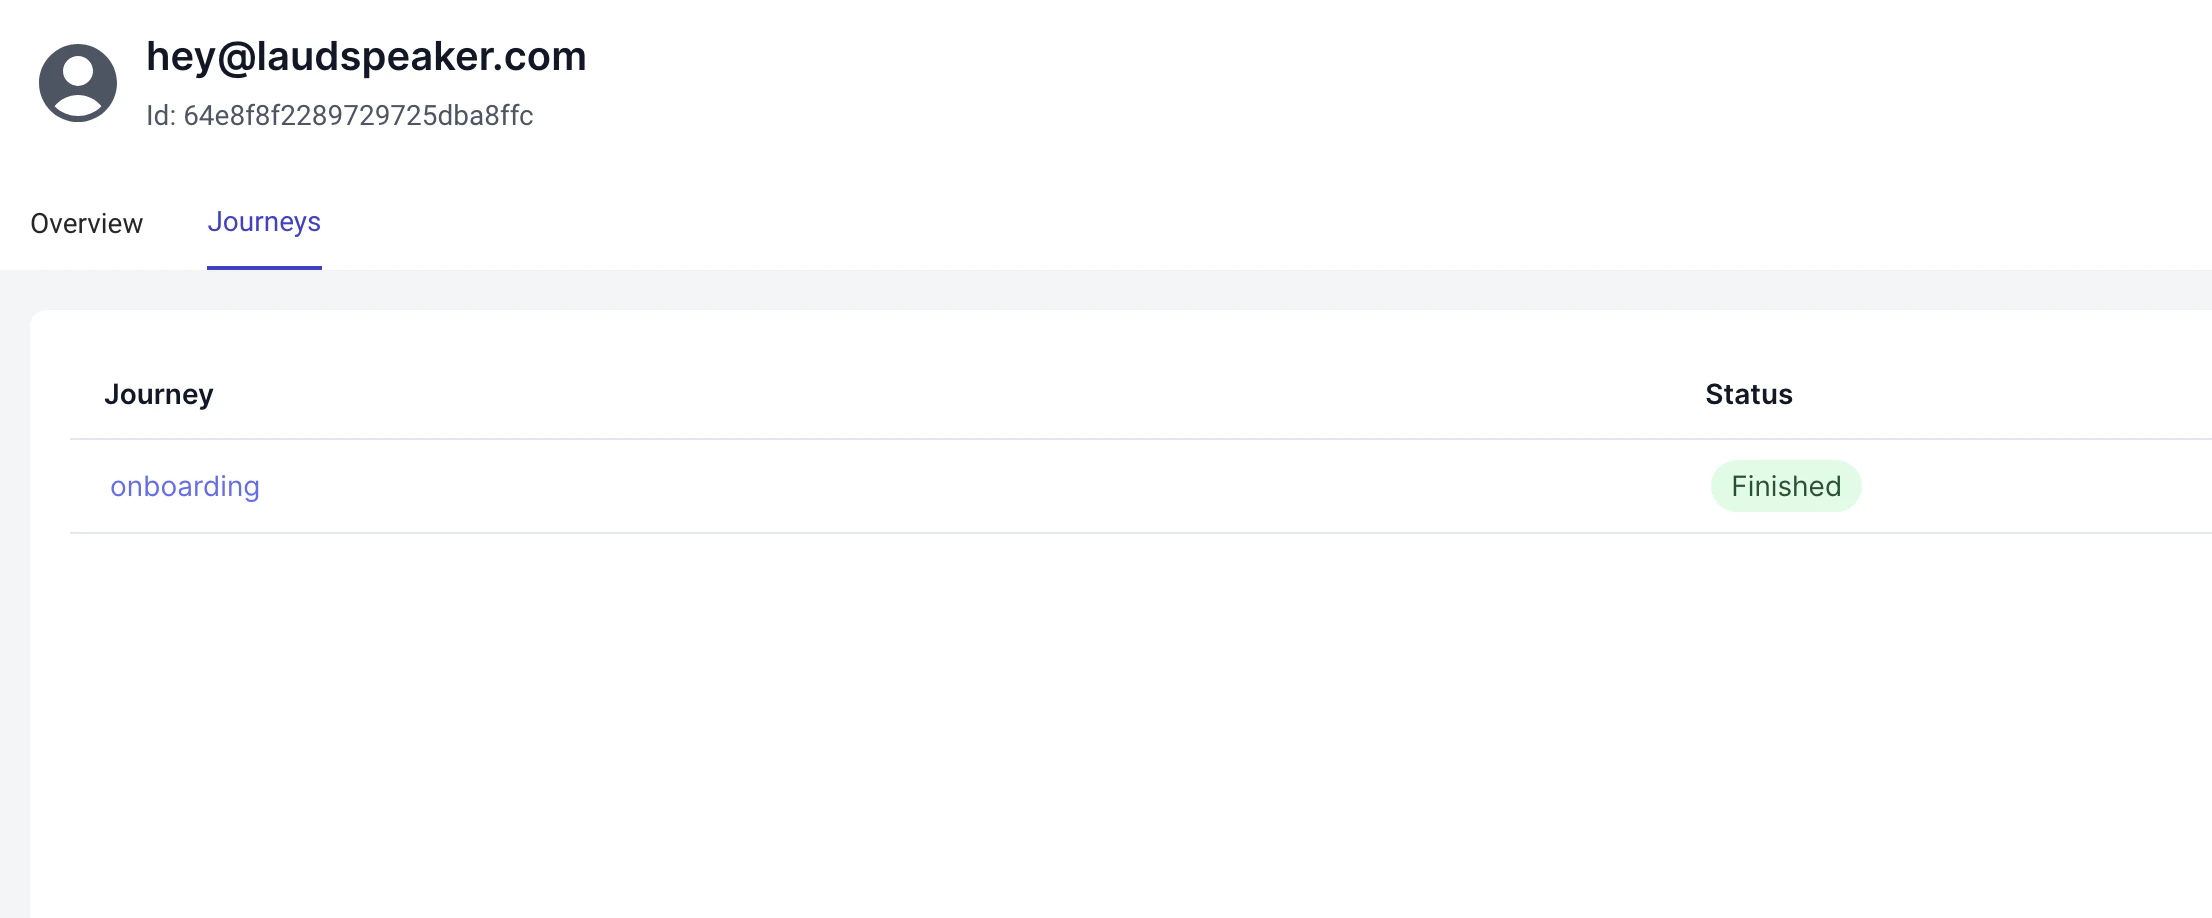
 You can see which journeys they are enrolled in by click on the journeys tab:
 ## Creating a Person
You can create a person manually, programmtically via our api, via a data base import, or new profiles will be created automatically if an event with a new user reaches Laudspeaker.
### Creating a person manually
To create a person manually, first click on the "create person" button on the people page. This will take you to an empty profile page like this:
## Creating a Person
You can create a person manually, programmtically via our api, via a data base import, or new profiles will be created automatically if an event with a new user reaches Laudspeaker.
### Creating a person manually
To create a person manually, first click on the "create person" button on the people page. This will take you to an empty profile page like this:
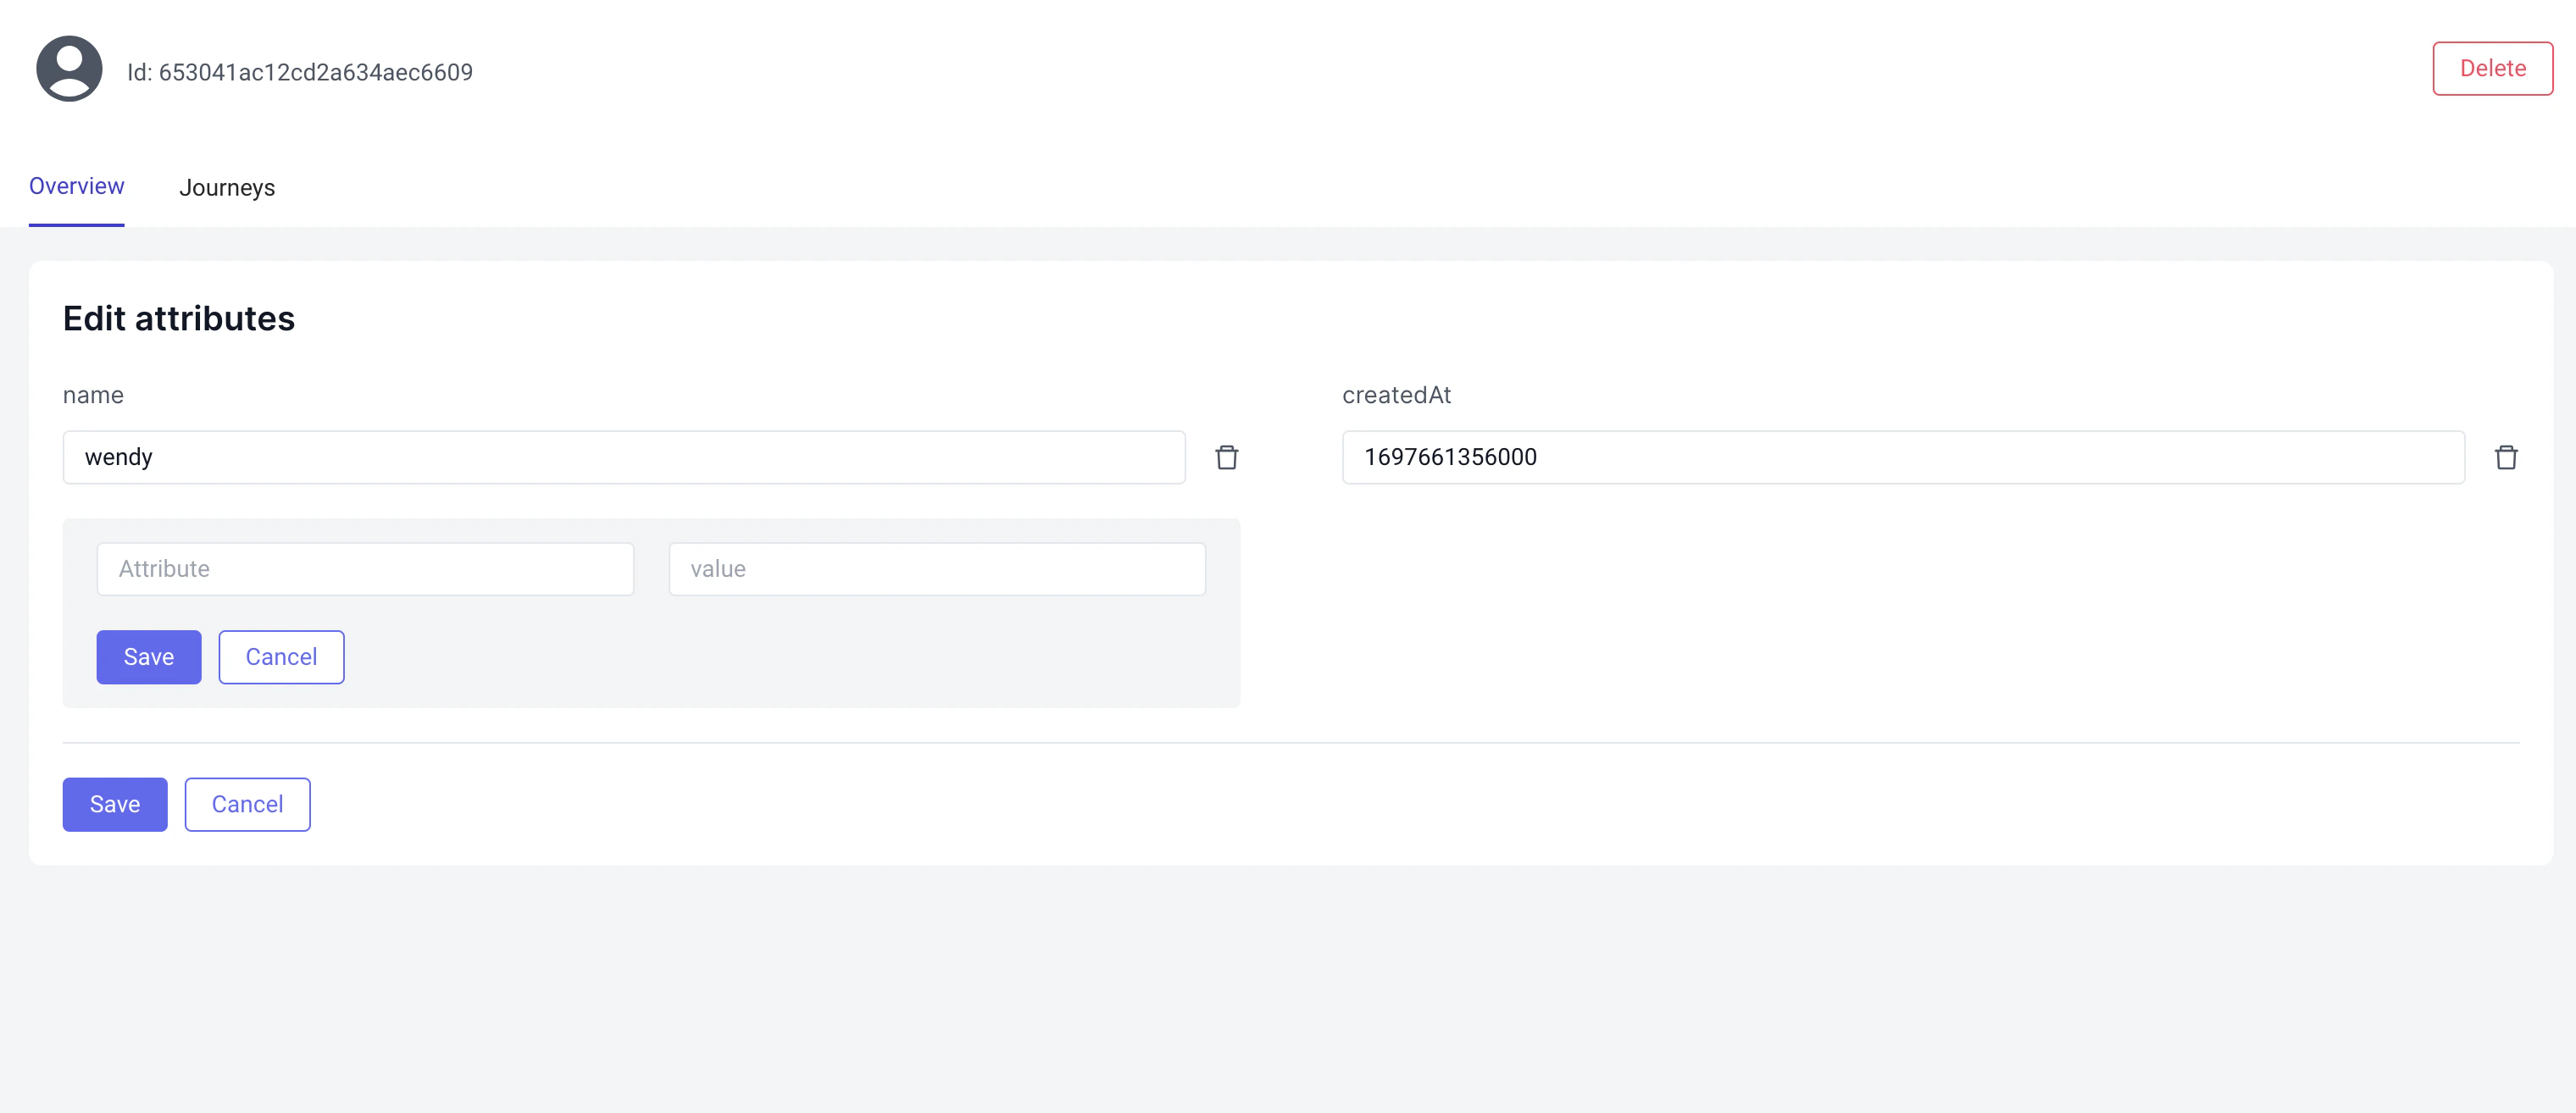
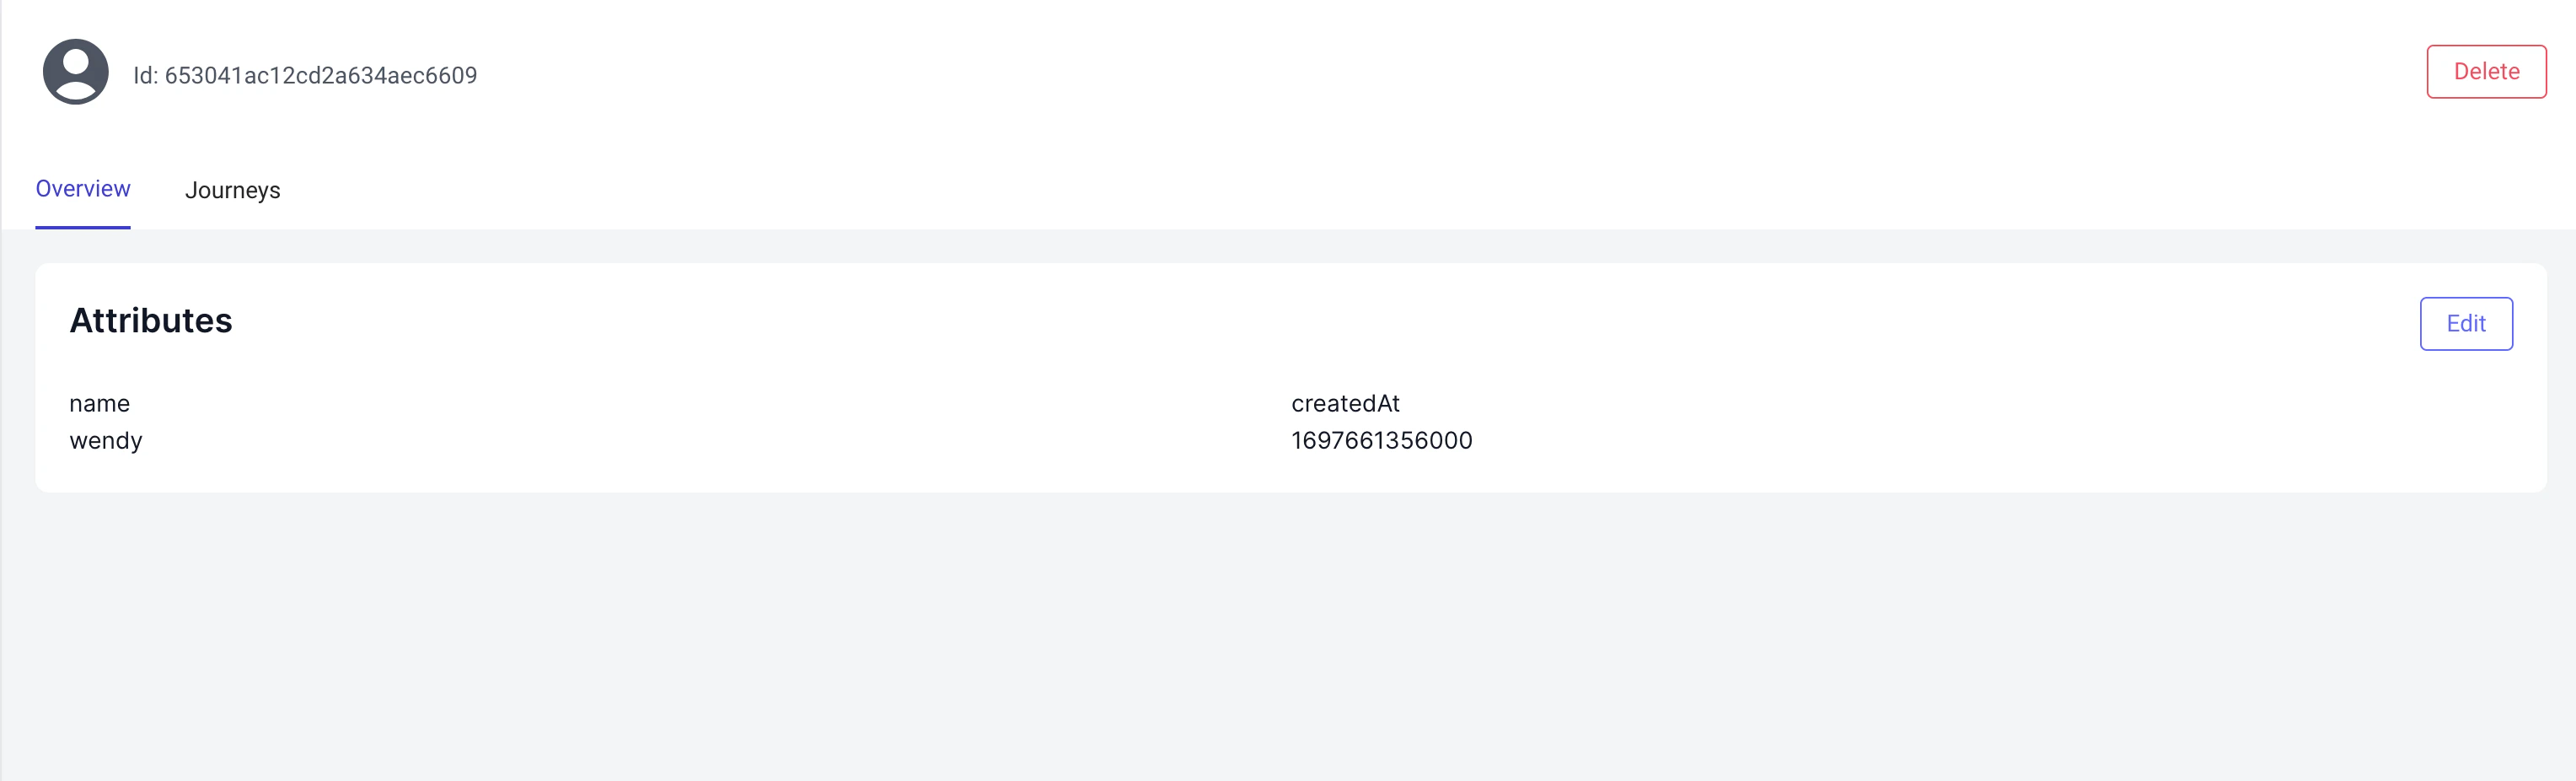 You can now add attributes or edit existing attributes, by clicking on edit.
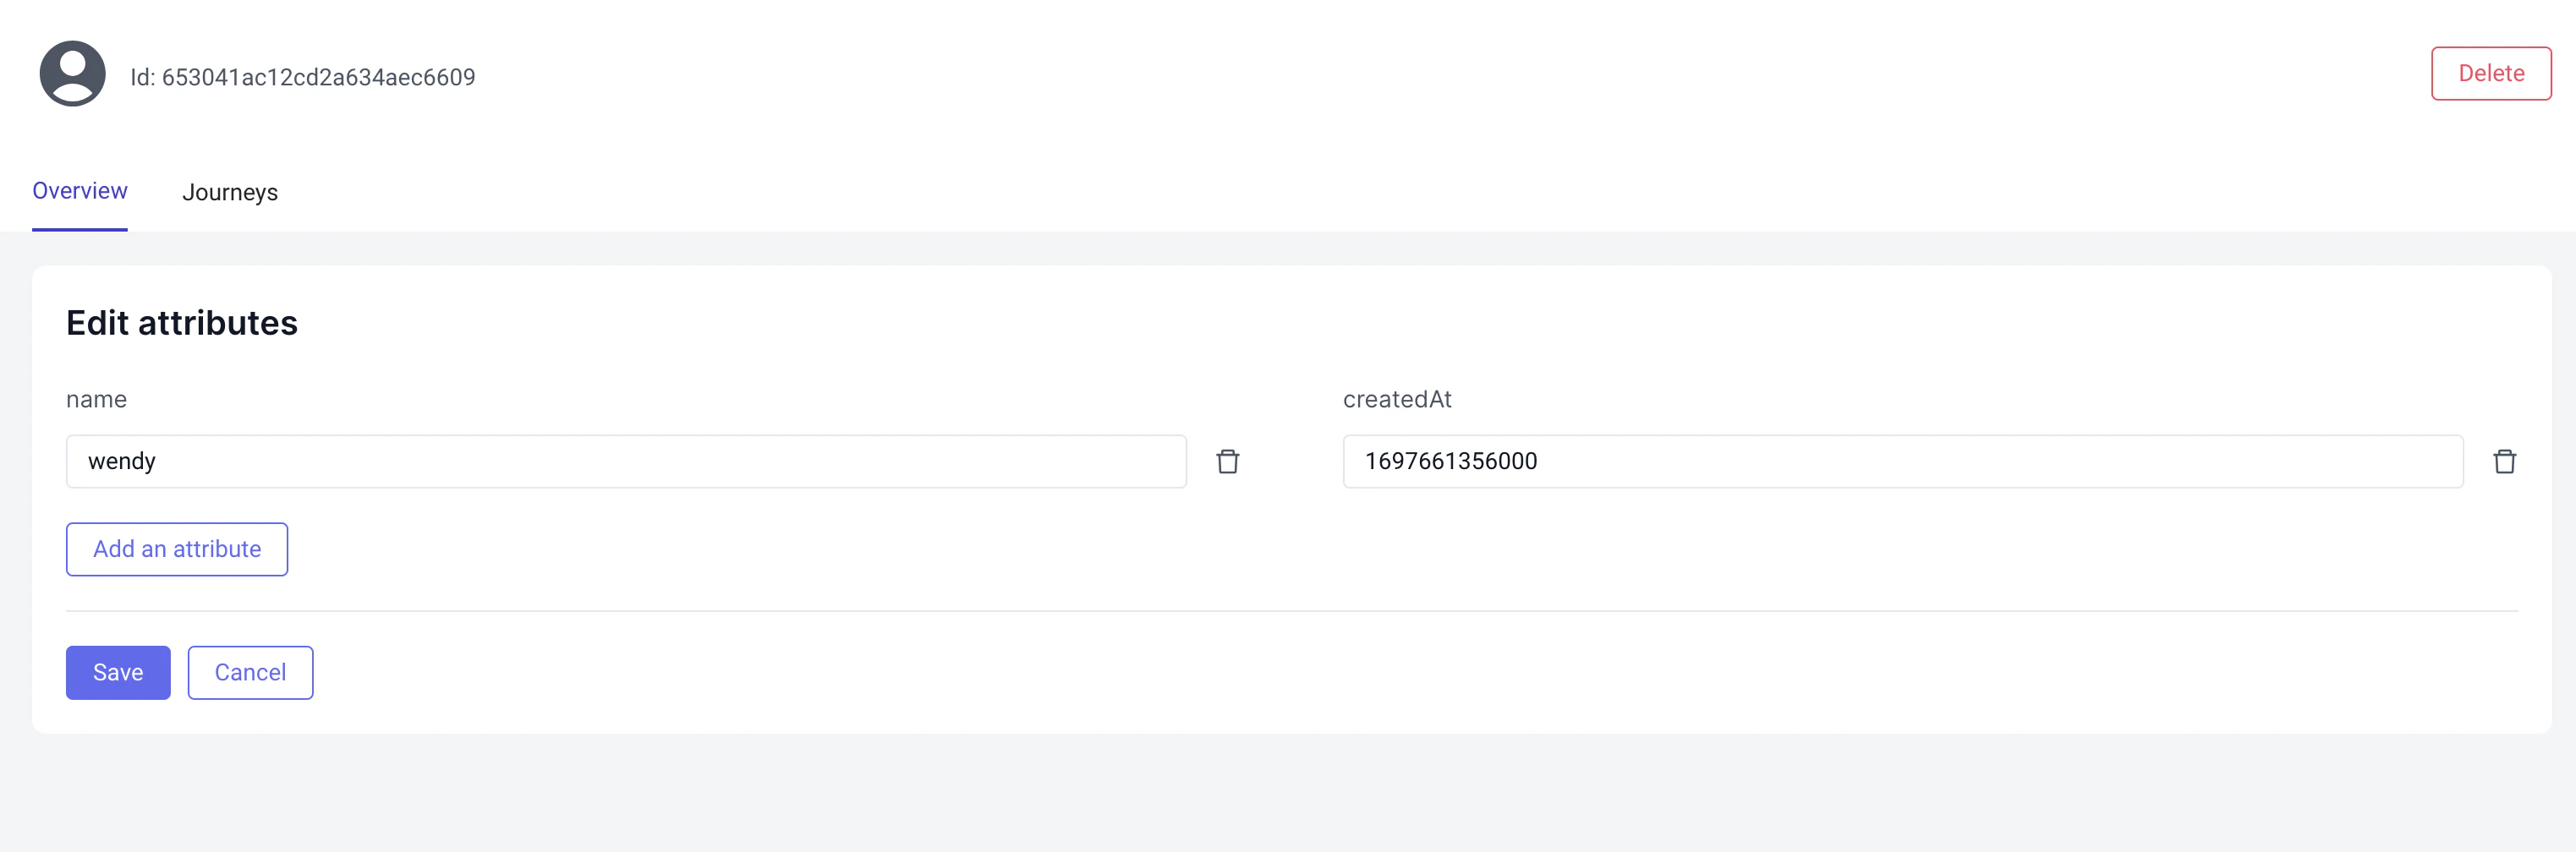 Finally when you are done, adding attributes, you must "add" and then you can "save".
 ### Creating a person programmtically via our api
### Creating a person programmtically via a data base import
### Creating a person programmtically via our api
### Creating a person programmtically via a data base import